Hey there,
To answer a few questions on the A-Wing, I've just got these few shots for you to take a look at the inside.
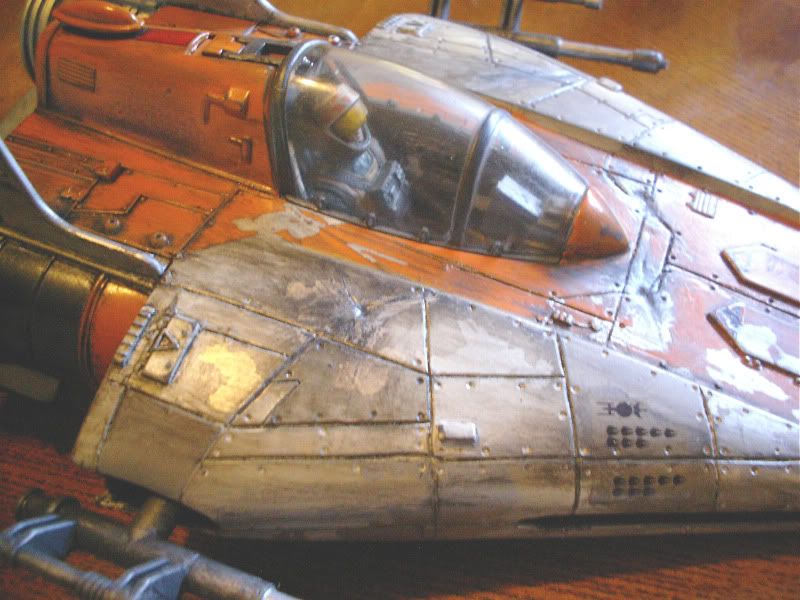
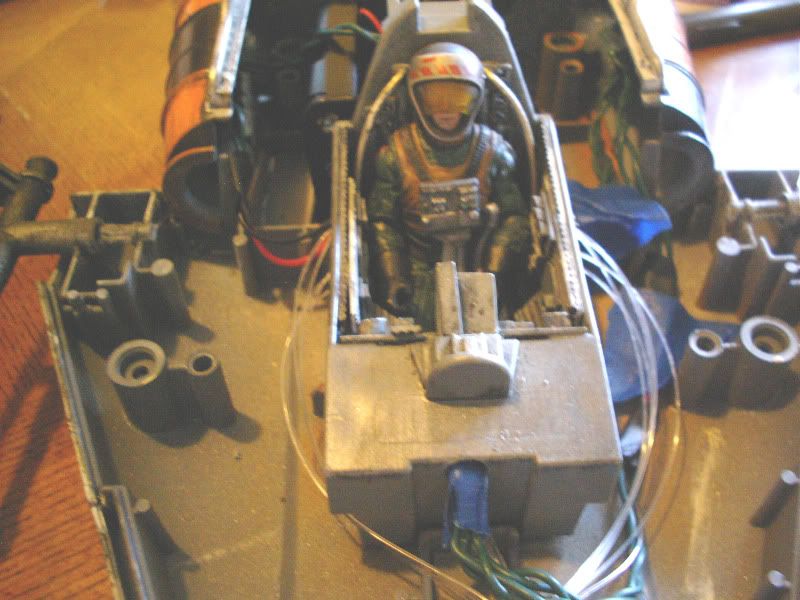
Top view of the A-wing with the top removed. I removed the screws when I floated over the holes on the bottom, but the two halves hold together quite well. I left open for easy maintenance and I still haven't wired a switch into the bottom so I don't have to remove the batteries to turn it off. Again, I'm not expert and everything I learned i got off of youtube.
One source of infinite knowledge has been ModelManTom on youtube. He and I have a similar background where we were both into faux finishes and a variety of mixed media knowledge. He also has a bunch of practical tips on finding some resources to make your models shine.
Anway, back to it..Here's that topside shot

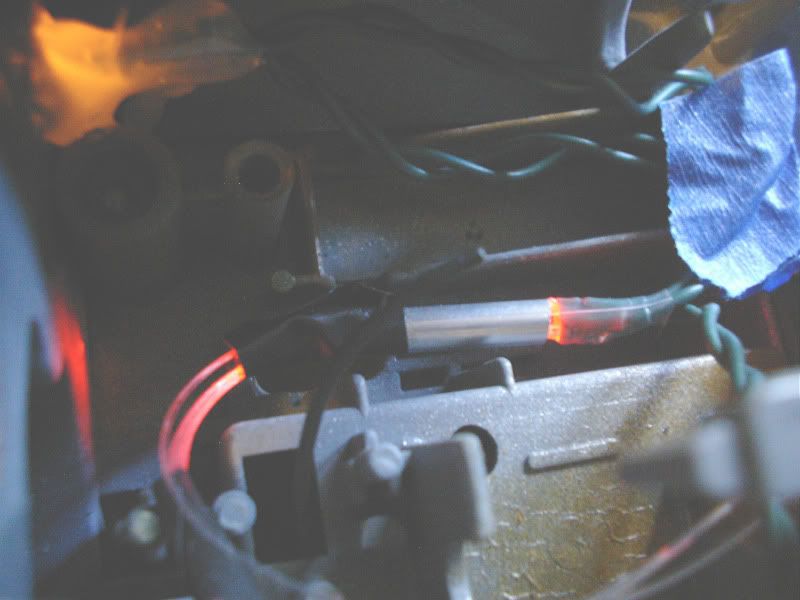
Here's a shot of one of the aluminum tubes I've used to funnel the light of the LED directly to the trimmed ends of the fibers. The first is the located at the front for the dash lights.

And for the back wall lights and the two lights at the tail end of the A-Wing..
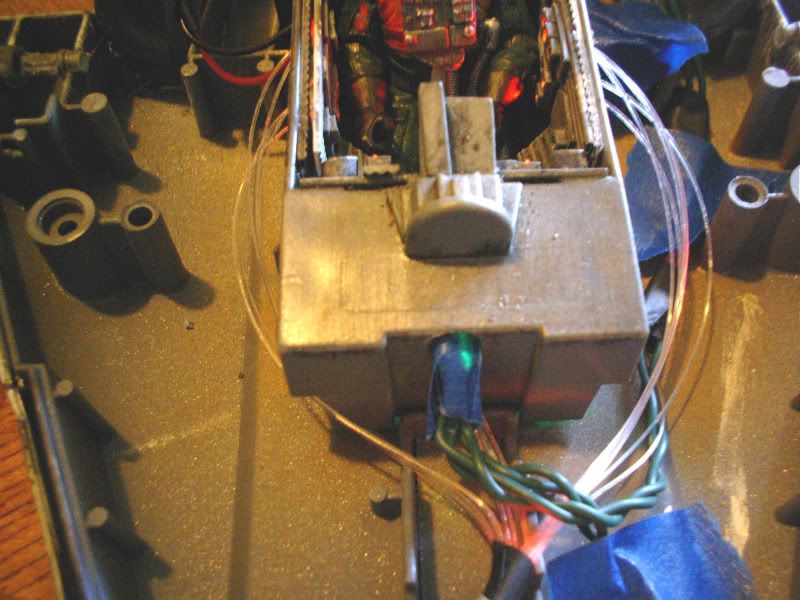
And one more of the front end..this last LED lights up the radar and other panels on the dash I scratch built from a couple of sheets of styrene. I'm using LEDs from a dollar store string of battery operated Christmas Lights. $4 for a string of thirty lights isn't so bad, and they take a ton of the guess work out of the lighting of the fighter.
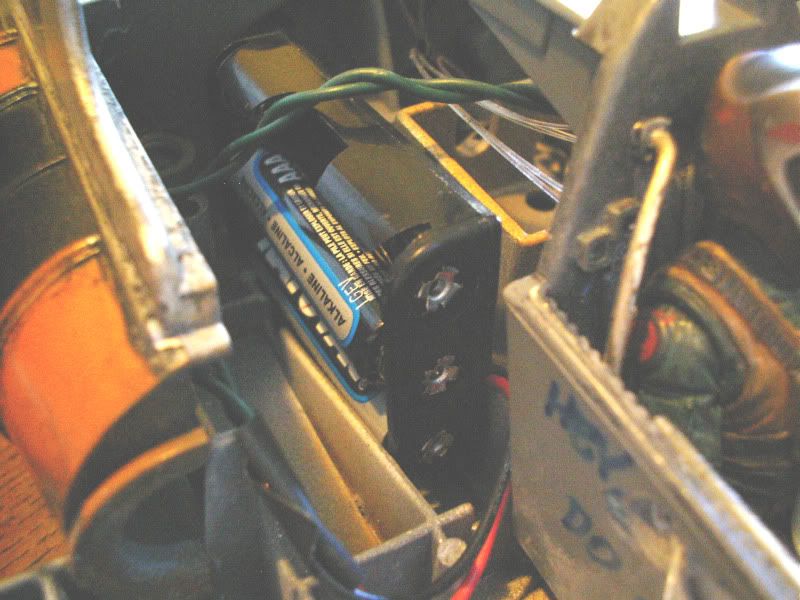
And a shot of the battery pack. There was a nice little slot for the pack at the back end of the A-Wing. I used a pack of three AAA batteries to light everything up and again, with the christmas lights..no guess work about resistors, and no soldering either.
That's it for this post, but I just found a bunch of the WIP progress pics from the canopy bucket.